Table of Contents
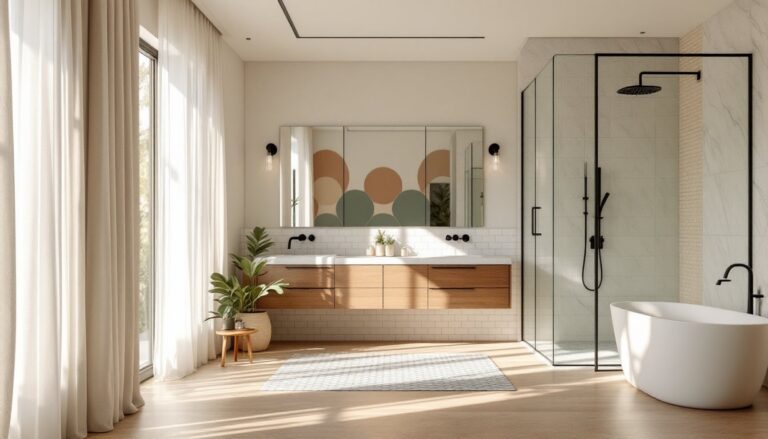
ToggleRedesigning a bathroom without seeing the final result is like cutting lumber without measuring, risky. Free 3D bathroom design software has changed the game for DIYers and homeowners who want to visualize tile layouts, fixture placement, and lighting before spending a dime on materials. These tools let anyone, no design degree required, model their space, experiment with finishes, and catch costly mistakes before demolition starts. Whether planning a full gut renovation or a simple refresh, digital planning saves time, reduces material waste, and helps communicate the vision to contractors or family members who’ll share the space.
Key Takeaways
- Free 3D bathroom design software lets homeowners visualize layouts, materials, and fixtures before spending money, catching costly mistakes during the planning phase instead of after installation.
- Accurate measurements and dimension input are critical—spend time measuring to the nearest 1/8 inch, including ceiling height, door swings, and plumbing locations, to ensure your digital model matches reality.
- SketchUp Free and Planner 5D are the top free 3D bathroom design tools; SketchUp offers precision for complex custom work while Planner 5D prioritizes speed with drag-and-drop ease for conceptual planning.
- Position major fixtures early based on plumbing locations and building codes—toilets require a 15-inch minimum clearance from centerline to sidewalls, and moving drains significantly increases renovation costs.
- Use manufacturer-specific fixture models from software libraries or downloads rather than generic placeholders to ensure accurate clearances, mounting heights, and realistic material estimates.
- Export floor plans, elevation views, and material lists from your 3D bathroom design to provide contractors with detailed scope documents, resulting in more accurate bids and smoother project execution.
Why Use Free 3D Bathroom Design Software?
The practical advantages go beyond pretty renderings. Accurate spatial planning prevents the all-too-common mistake of ordering a 60-inch vanity for a space that actually measures 57 inches after accounting for baseboard and door swing. Free tools let users input exact dimensions, including ceiling height, window placement, and door clearances, to test different layouts without moving a single pipe.
Material estimation becomes straightforward when the software calculates square footage for tile, paint coverage, and the linear feet of trim needed. Most programs generate material lists that translate directly to shopping lists, reducing the guesswork that leads to three extra trips to the home center.
For projects requiring permits or contractor bids, a 3D model serves as a clear communication tool. Instead of sketching on graph paper or trying to explain “something like a spa vibe but functional,” homeowners can show exactly what they want, down to the grout color and showerhead height. Contractors can provide more accurate quotes when they see the scope, and building inspectors understand the layout when reviewing permit applications for moves involving plumbing or electrical work.
The software also reveals design problems early. That farmhouse sink might block the dishwasher door. The rainfall showerhead could hang too low for taller family members. The toilet placement might violate the 15-inch minimum clearance from centerline to sidewall required by most building codes. Catching these issues in the digital phase costs nothing: fixing them after installation costs plenty.
Best Free 3D Bathroom Design Tools Available Today
SketchUp Free: Professional-Grade Design Made Accessible
SketchUp Free (formerly SketchUp Make) runs entirely in a web browser and offers the same core modeling engine architects use, minus some advanced features reserved for paid versions. The free tier includes enough functionality for detailed bathroom planning, including the ability to model custom cabinetry, tile patterns, and built-in storage.
The learning curve is moderate but manageable. Users draw in 2D first, then extrude shapes into 3D forms, a logical workflow for anyone who’s sketched a floor plan on paper. The 3D Warehouse gives access to thousands of manufacturer models: specific toilet models, actual vanity dimensions, and brand-name fixtures. This matters when planning around real products rather than generic placeholders, especially for homeowners visualizing something they saw on Houzz or browsing through options on Homify.
SketchUp handles complex geometry well. Need to design a shower niche between studs? Model a custom floating vanity with undermount drawers? The precision tools and measurement inputs make it possible. The free version limits cloud storage to 10GB, which is adequate for multiple bathroom projects unless creating extensive material libraries.
Planner 5D: Intuitive Browser-Based Bathroom Planning
Planner 5D takes a different approach with a drag-and-drop interface that prioritizes speed over precision. It’s ideal for homeowners who want to test layouts quickly without learning complex modeling tools. The software includes a substantial library of bathroom fixtures, tile patterns, and decorative elements that work well for visualizing style choices.
The free version produces 2D floor plans and 3D walkthroughs with decent rendering quality. Users can view their design from any angle, including a first-person perspective that simulates standing in the space, helpful for judging whether a layout feels cramped or if mirror placement will cause lighting glare.
Limitations exist: the free tier watermarks renders and restricts some premium catalog items. Measurement precision isn’t as exact as SketchUp, which could be problematic for tight spaces where half-inch differences matter. But for conceptual planning, testing whether a corner shower works better than a tub-shower combo, or comparing a single-sink versus double-sink vanity, it delivers results in a fraction of the time.
How to Create Your 3D Bathroom Design Step-by-Step
1. Measure the existing space accurately. Use a 25-foot tape measure and record dimensions to the nearest 1/8 inch. Measure floor-to-ceiling height at multiple points (older homes settle unevenly). Note locations of existing plumbing, electrical outlets, switches, windows, and doors. Measure door swing radius, a 32-inch door needs roughly 32 inches of clear floor space to open fully.
2. Input dimensions into the software. Start with the room perimeter, then add permanent features: window rough openings, door locations, and any structural elements like soffits or exposed pipes. Most programs snap to common dimensions (96-inch ceiling height, 30-inch door width), but override these with actual measurements.
3. Position major fixtures first. Plumbing location dictates much of a bathroom’s layout. The toilet typically requires the most specific placement due to code requirements: 15 inches minimum from centerline to any sidewall or obstruction, and 21 inches minimum clear space in front. Shower and tub placement depends on existing drain locations, moving these significantly increases costs due to concrete cutting or floor framing modifications.
4. Add cabinetry and storage. Standard vanity depths run 21 inches, though narrower 18-inch models exist for tight spaces. Account for cabinet door and drawer clearance, a 36-inch vanity with side-mounted doors needs a few extra inches on the hinge side. Consider incorporating designs inspired by freestanding tub installations that optimize surrounding storage.
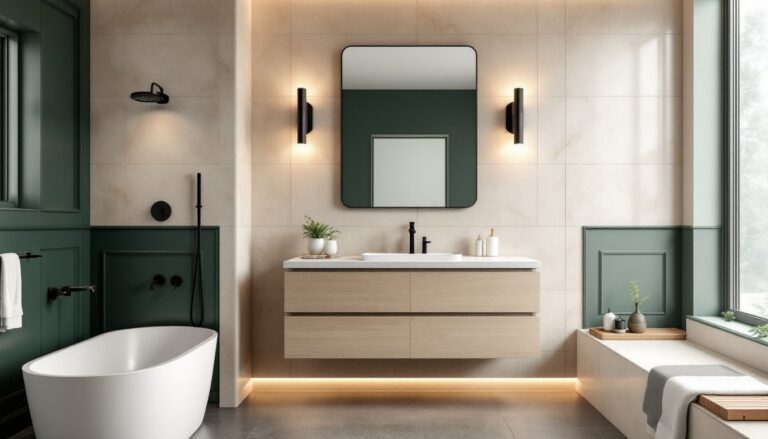
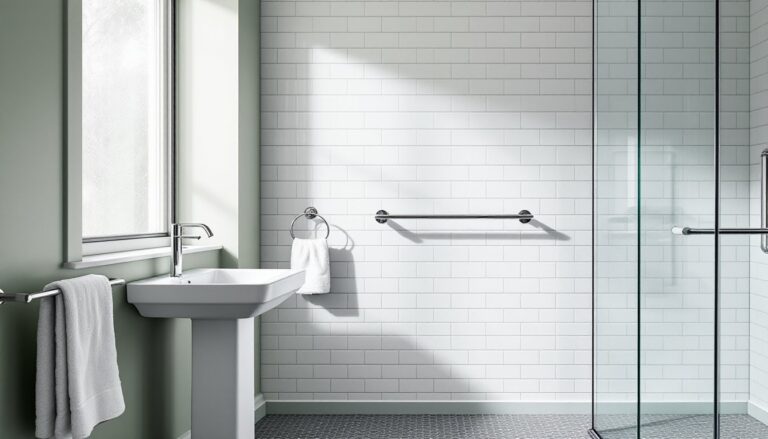
5. Select finishes and materials. Apply tile patterns to floors and walls, test paint colors under different lighting conditions, and choose fixtures. The software shows how a white subway tile with dark grout reads differently than the same tile with white grout. Experiment with accent walls, wainscoting heights (typically 36 inches in bathrooms), and border tile placement.
6. Test lighting placement. Bathrooms need task lighting at mirrors (mounted 75-80 inches from the floor), ambient lighting overhead, and potentially accent lighting in showers or above tubs. Many design tools include lighting simulation to reveal shadows and dark corners that would only become apparent after installation.
7. Review and refine. Walk through the 3D model from multiple angles. Open virtual doors and drawers. Simulate a person standing at the sink, will they bump into the toilet or tub edge? Is there space to towel off after showering? Check that tile patterns align at corners and that the design doesn’t create awkward partial tiles in visible locations.
Tips for Getting the Most Out of Free Design Software
Work in actual dimensions from day one. Many users start with approximate measurements, then struggle to retrofit the design to reality. Spend the extra 30 minutes measuring properly, including the thickness of existing walls (typically 4.5 inches for 2×4 framing with drywall, 6.5 inches for 2×6). Account for tile thickness when planning niches or shelves that sit flush with surrounding walls.
Use manufacturer models when available. Generic fixtures force guesswork during purchasing. If considering a specific Kohler toilet or Delta showerhead, search for the model in the software’s library or download it from the manufacturer’s website. This ensures clearances and mounting heights match the actual product.
Design for code compliance early. Most jurisdictions follow the International Residential Code (IRC), which sets minimums for fixture spacing, ventilation, and electrical requirements. Bathrooms need GFCI-protected outlets, exhaust fans rated for the room’s cubic footage (typically 50 CFM for an 8×5-foot bath), and proper waterproofing in wet areas. If the design involves moving walls or plumbing, consult local building departments about permit requirements before finalizing plans.
Test multiple layout options. Free software costs nothing to experiment. Try a corner shower versus a standard alcove. Compare a pocket door (saves floor space) against a traditional swing door. Model both a prefab shower insert and a custom tile installation to weigh cost versus aesthetics, taking inspiration from remodeling projects featured on Remodelista.
Export views for contractor quotes. Generate floor plans, elevation views (straight-on looks at each wall), and a complete material list. These documents let contractors provide detailed, accurate bids rather than ballpark estimates. Include dimensions, product specs, and finish selections in the export.
Don’t skip the boring stuff. Model backing for grab bars even if not installing them immediately, 2×6 or 2×8 blocking between studs costs pennies during construction but hundreds to add later. Plan for adequate storage: the average bathroom needs 15-20 linear feet of cabinet or shelf space. Consider accessibility features like curbless showers or comfort-height toilets (17-19 inches seat height versus the standard 15 inches) that make the space more usable long-term.
Conclusion
Free 3D bathroom design tools put professional-level planning in reach of any homeowner willing to invest a few hours learning the interface. The payoff, accurate material estimates, code-compliant layouts, and the ability to spot problems before they become expensive fixes, makes the upfront effort worthwhile. Start with measurements, build carefully in the software, and use the resulting plans to guide purchasing decisions and contractor conversations. The bathroom exists in digital form first: make all the mistakes there.