Table of Contents
ToggleBathroom walls do more than just separate shower spray from the rest of your house. They set the mood, define the space, and take more abuse than nearly any other interior surface. Whether someone’s planning a full gut job or a weekend refresh, the wall treatment choices made today will shape how that bathroom looks and functions for the next decade. This guide walks through material options, design strategies, and practical installation advice to help tackle bathroom wall projects with confidence, no fluff, just the details that matter when it’s time to actually swing a trowel or peel backing paper.
Key Takeaways
- Bathroom wall design must prioritize moisture management and durability, using waterproof backer board, vapor barriers, and finishes rated for wet environments to prevent mold, structural damage, and costly repairs.
- Tile—especially porcelain in large formats or subway styles—remains the most durable and waterproof option for bathroom walls, while paint and vinyl wallpaper work best in low-moisture areas like powder rooms.
- Creating visual interest in bathroom wall design can be achieved through texture, accent walls, herringbone patterns, contrasting grout colors, or wood-look porcelain without overwhelming small spaces.
- Proper surface prep, cement backer board installation, and waterproofing membranes in shower surrounds are non-negotiable for long-term durability and prevent costly water damage to framing.
- Layout and style consistency—including thoughtful transitions between wet and dry zones—enhance both the functionality and resale value of a bathroom.
- DIY bathroom wall updates require attention to details like caulking corners (not grouting), using appropriately-sized notched trowels, and sealing grout within 48–72 hours to ensure waterproofing and longevity.
Why Bathroom Wall Design Matters More Than You Think
Bathrooms sit at the intersection of high moisture, temperature swings, and daily wear. A wall finish that works beautifully in a living room can fail spectacularly behind a shower. Mold, delaminating paint, and cracked grout aren’t just ugly, they’re expensive to fix and can compromise the structure behind the walls.
The right wall design also impacts resale value. Buyers notice outdated tile, peeling wallpaper, and tired paint. A thoughtfully designed bathroom signals that the home has been maintained. It doesn’t require marble from Italy, but it does require materials rated for wet environments and installation that follows moisture management best practices.
Functionality comes first. Any bathroom wall must handle humidity without trapping moisture against drywall or studs. That means using moisture-resistant or waterproof backer board (like cement board or foam panels) in wet zones, applying proper vapor barriers, and choosing finishes rated for ASTM moisture exposure classifications. Once those fundamentals are covered, aesthetics can take center stage.
Popular Bathroom Wall Materials and Finishes
Tile Options: From Classic Subway to Bold Patterns
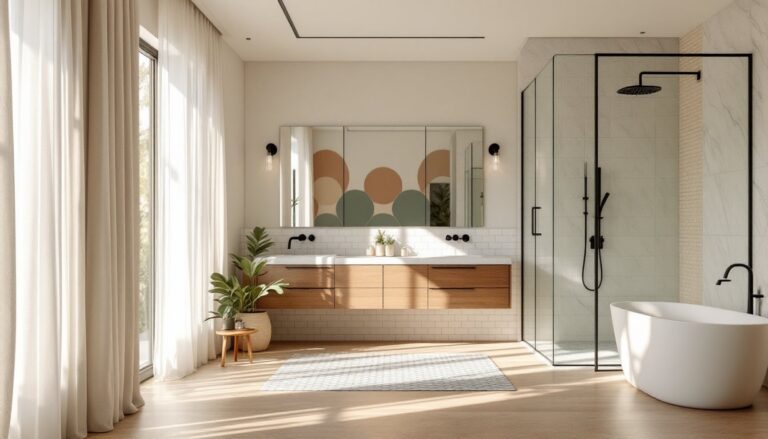
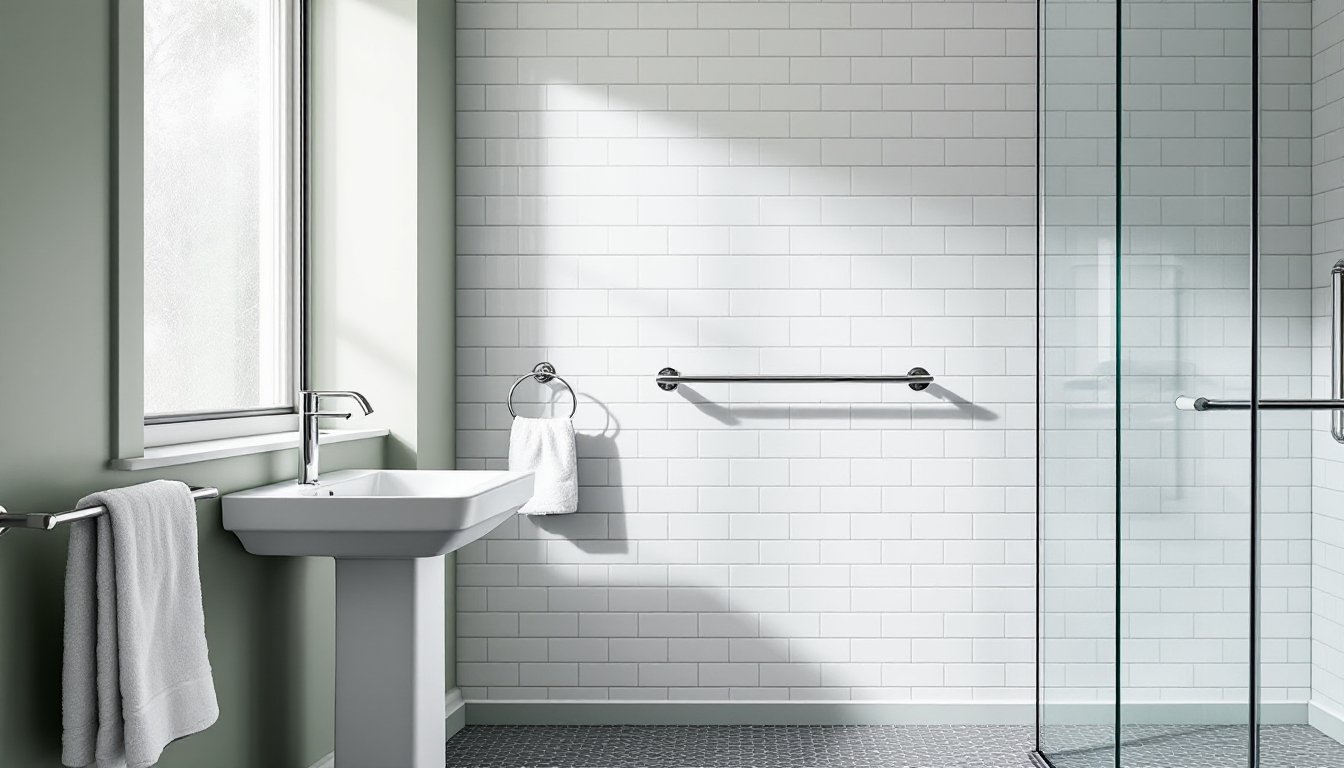
Ceramic and porcelain tile remain the workhorses of bathroom walls for good reason: they’re waterproof, durable, and available in nearly limitless styles. Subway tile (typically 3×6 inches) is a perennial favorite because it’s affordable, easy to cut, and works in both traditional and contemporary spaces. Running bond, stacked, or herringbone layouts each create different visual effects with the same tile.
Larger-format tiles, 12×24 inches or bigger, minimize grout lines and give a cleaner, more modern look. They also mean fewer seams where water can potentially penetrate, though they require flatter substrate prep. Porcelain is denser and less porous than ceramic, making it the better choice for shower walls and high-splash zones.
For those wanting pattern and color, mosaic tile (usually ½-inch to 2-inch pieces on mesh backing) works well as an accent band or full wall. Hexagons, penny rounds, and geometric patterns have all cycled back into popularity. Installing mosaics takes patience, each sheet needs careful alignment and consistent thinset coverage to avoid lippage.
Natural stone like marble, travertine, or slate brings texture and organic variation, but it requires sealing and more maintenance than porcelain. Stone is also softer and can etch from acidic cleaners. If someone loves the look but not the upkeep, porcelain that mimics stone is a practical alternative.
Paint, Wallpaper, and Alternative Wall Treatments
Paint is the fastest, most budget-friendly wall update. In bathrooms, that means using paint rated for moisture resistance, look for formulas labeled “bath & kitchen” or those with mildewcide additives. Semi-gloss or satin sheens resist moisture better than flat paint and wipe clean more easily. Proper ventilation (an exhaust fan rated for the room’s cubic footage) is non-negotiable: even the best paint will fail in a constantly steamy, unvented bathroom.
Ceiling paint in bathrooms should also be moisture-resistant. Peeling ceiling paint is almost always a ventilation problem, not a product problem.
Wallpaper has come a long way. Vinyl-coated or solid vinyl wallpapers can handle bathroom humidity, especially in powder rooms or areas away from direct water contact. Peel-and-stick options make installation DIY-friendly, though surface prep (smooth, primed walls) still determines success. Avoid wallpaper in shower surrounds or directly above tubs unless it’s explicitly rated for wet zones.
Paneling and alternative treatments include beadboard (real wood or PVC), shiplap, and large-format wall panels. PVC beadboard is moisture-proof and paintable, making it a smart wainscoting choice below a chair rail. Acrylic or fiberglass wall panels install over existing tile or drywall and eliminate grout entirely, ideal for retrofits where demolition isn’t an option. They’re common in commercial settings but increasingly popular in residential remodels for their speed and durability.
Designing Around Your Bathroom’s Layout and Style
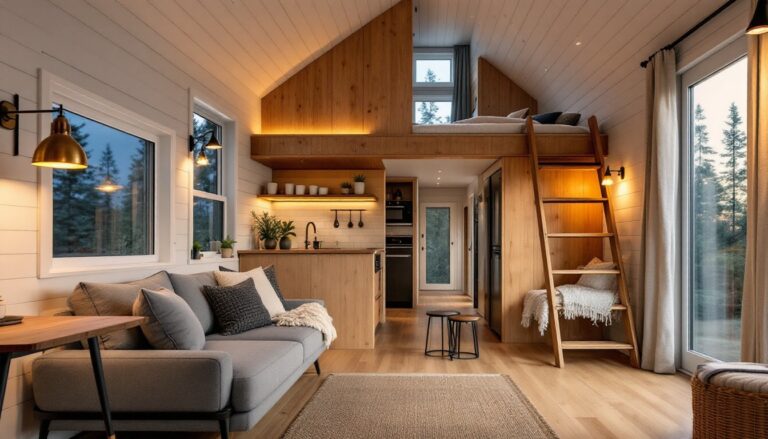
Layout dictates material choices. A small powder room with no shower can lean into bold wallpaper or a dark, moody paint color without worrying about steam damage. A primary bath with a walk-in shower needs a plan that addresses wet zones, transitions, and sightlines.
In compact bathrooms, light-colored walls and large-format tiles make the space feel bigger. Vertical patterns or subway tile in a stacked (not offset) pattern draw the eye up and can make low ceilings feel taller. Conversely, horizontal lines or wide planks can make a narrow bathroom feel wider.
Style consistency matters, but it doesn’t mean everything has to match. A mid-century modern bath might pair terrazzo-look porcelain with a complementary paint color and unlacquered brass fixtures. A farmhouse bath could use white shiplap on upper walls, subway tile in the shower, and a patterned floor tile that ties the palette together. The key is a cohesive color story and material finishes that don’t fight each other. Many designers recommend keeping the modern tub choices cohesive with wall treatments to create a unified aesthetic.
Wet zones, shower surrounds and tub alcoves, should use fully waterproof materials: tile, solid surface panels, or stone. Transition thoughtfully where wet meets dry. For example, tile might run floor-to-ceiling in the shower, then step down to a painted drywall above wainscoting in the vanity area. That transition point is where a chair rail, border tile, or trim piece keeps the look intentional rather than haphazard.
Creating Visual Interest with Accent Walls and Texture
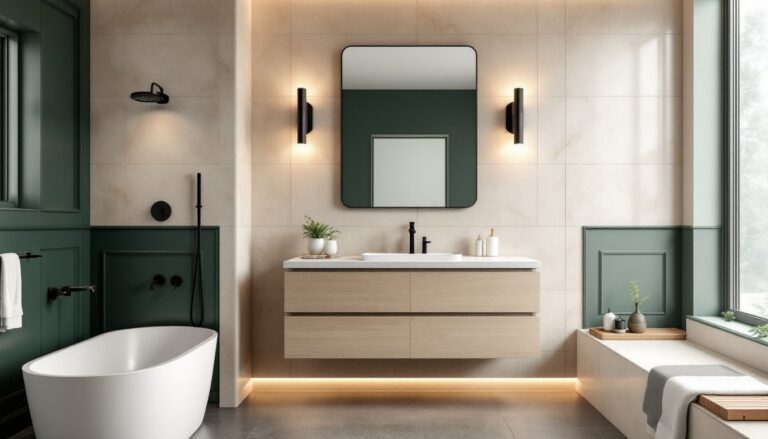
An accent wall can anchor a bathroom without overwhelming it. In small baths, the wall behind the vanity or the shower back wall are natural focal points. In larger primary baths, the tub wall or a full-height tile feature can define zones.
Texture adds depth without adding color. Three-dimensional tile, with wavy surfaces, geometric reliefs, or stacked stone profiles, catches light and creates shadow lines. It works especially well in monochromatic schemes where color variation is minimal. Even standard subway tile gains interest when installed in a non-standard pattern: herringbone, vertical stack, or a basket weave.
Contrasting grout is another low-cost, high-impact move. White tile with charcoal grout highlights the grid and adds a graphic edge. The inverse, dark tile with light grout, softens and blends. Just remember that lighter grout shows staining more readily in high-splash areas, so sealing is essential.
Wood-look porcelain brings warmth and texture without the maintenance headaches of real wood in a wet environment. Planks installed vertically create a spa-like, contemporary feel. Horizontal installation reads more casual or rustic. The material performs like tile but offers the visual variety of wood grain.
For those exploring design inspiration online, mixing materials within a single space, like pairing smooth painted drywall with textured stone tile, creates contrast. But restraint is key. Too many textures or finishes can make a small bathroom feel chaotic. Pick one or two hero materials and let them shine.
DIY Tips for Installing and Updating Bathroom Walls
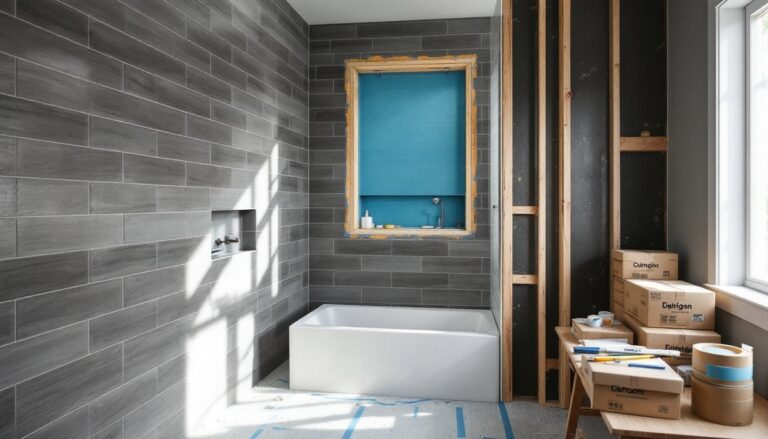
Prep work is everything. Remove old caulk, repair any water damage to studs or drywall, and confirm walls are plumb before tile or panel installation begins. Use a 4-foot level to check. Out-of-plumb walls cause tile lippage and uneven grout lines that no amount of skill can fix after the fact.
In wet areas, install cement backer board (like Durock or HardieBacker) or a foam backer system (like Wedi or Kerdi-Board) over the studs. Standard greenboard drywall isn’t sufficient behind tile in showers, it will eventually fail. Fasten backer board with corrosion-resistant screws every 8 inches on center. Tape and seal all seams with the manufacturer’s recommended membrane or tape system.
Waterproofing membranes are non-negotiable in shower surrounds. Options include liquid-applied membranes (like RedGard), sheet membranes (like Schluter Kerdi), or foam board systems with integrated waterproofing. These create a continuous barrier that protects the framing even if water gets past the tile. Many remodeling guides emphasize this step as critical to long-term durability.
When tiling, use a notched trowel sized to the tile (check the thinset manufacturer’s specs). Spread thinset in small sections, set tiles with slight twists to ensure full contact, and use spacers for consistent grout joints. A wet saw is the best tool for cutting tile cleanly, though a manual snap cutter works for straight cuts on ceramic.
Grout choice matters. Unsanded grout is for joints ⅛ inch or narrower: sanded grout for anything wider. Epoxy grout is stain-resistant and waterproof but harder to work with, it’s overkill for most residential bathrooms. Seal cementitious grout after it cures (typically 48–72 hours). Caulk, not grout, goes in all inside corners and where tile meets tubs or fixtures. Caulk flexes: grout cracks.
For painting, clean walls thoroughly with a degreaser, patch holes with lightweight spackle, and sand smooth. Prime any patched areas or bare drywall before the topcoat. Two coats of quality bath paint will outlast one thick coat. Cut in edges with a brush, then roll the field with a ⅜-inch nap roller for smooth surfaces.
Peel-and-stick wallpaper is genuinely DIY-friendly but requires smooth, clean walls. Any texture or debris will telegraph through. Start in a corner, use a squeegee to eliminate bubbles, and trim excess with a sharp utility knife. For traditional wallpaper, pre-pasted varieties simplify the process, but proper booking time (letting the paste activate) is essential.
Safety reminders: Wear safety glasses when cutting tile or backer board. Use a dust mask (N95 or better) when sanding or cutting cement board, silica dust is a respiratory hazard. Wet-cut tile saws reduce airborne dust. Ventilate well when using adhesives, thinset, or paint. If demolishing old tile, check for asbestos in homes built before 1980: testing kits are inexpensive and removal should be left to certified professionals if present.
Most cosmetic bathroom wall updates don’t require permits, but any work that involves plumbing relocation, structural changes, or electrical (like adding outlets or lights) typically does. Check local code requirements before starting. When in doubt, call the building department, it’s faster than redoing work that fails inspection. Resources like Homedit’s design galleries can offer visual inspiration, but always cross-check installation techniques against manufacturer instructions and local codes.