Table of Contents
ToggleA 12×24 tiny house delivers 288 square feet of living space, roughly the size of a large studio apartment. That’s enough room to sleep, cook, work, and relax, but only if the interior is designed with precision. Every wall, corner, and vertical inch needs a purpose. Unlike traditional homes where rooms serve single functions, tiny house interiors rely on overlapping zones, convertible furniture, and ruthless efficiency. The difference between a cramped box and a comfortable home comes down to layout decisions, smart storage, and knowing where to compromise. This guide walks through practical design strategies that turn a 12×24 footprint into a livable, functional space without sacrificing comfort or style.
Key Takeaways
- A 12×24 tiny house interior maximizes 288 square feet by using overlapping zones, convertible furniture, and vertical storage that prioritize function over single-purpose rooms.
- Multifunctional furniture like Murphy beds, convertible dining tables, and storage ottomans allow each piece to serve double or triple duty, freeing up floor space in compact layouts.
- Vertical storage strategies—including floor-to-ceiling shelving, pegboard walls, and drawer-step stairs—keep daily essentials accessible while preserving the limited footprint.
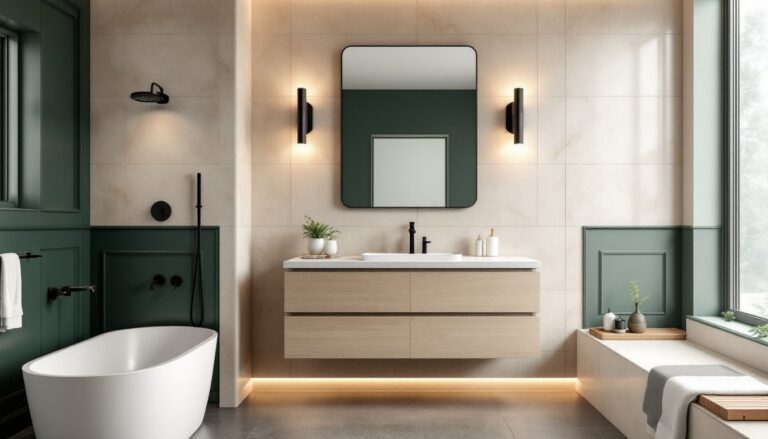
- A well-designed kitchen for tiny house living clusters utilities along one wall, uses compact 24-inch appliances, and relies on pull-out pantries and undermount sinks to maximize counter space.
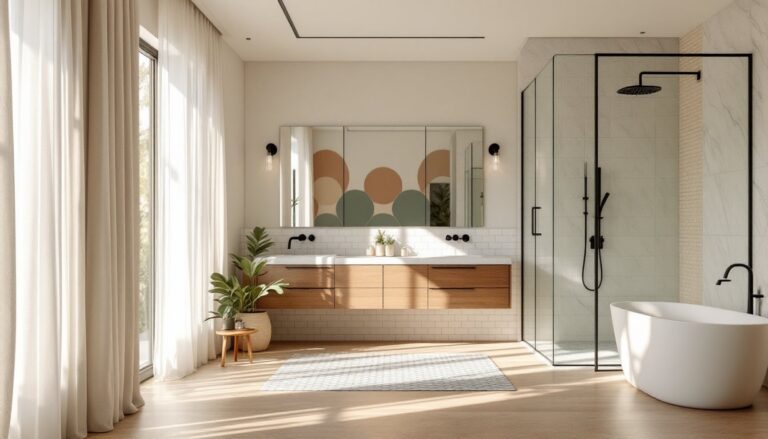
- Light colors, layered LED lighting, mirrors, and skylights make a 12×24 space feel significantly larger by reflecting light and eliminating visual barriers.
- Choosing between a sleeping loft (which frees main-floor space) and a ground-level bedroom depends on ceiling height, mobility needs, and how much privacy matters to occupants.
Understanding the 12×24 Tiny House Layout
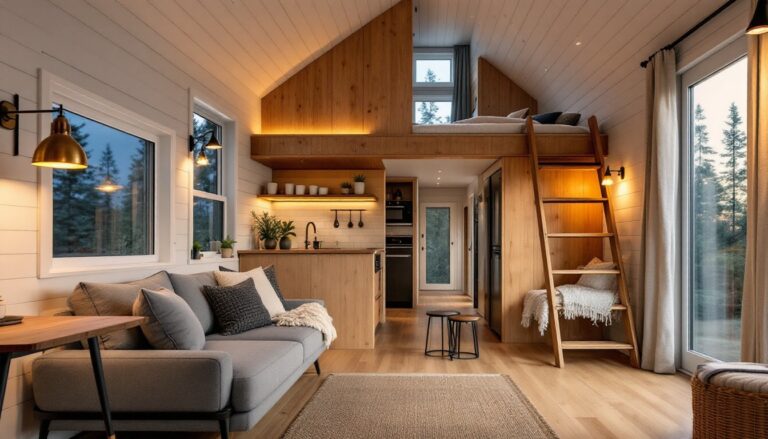
A 12×24 floor plan typically divides into three functional zones: kitchen/living, bathroom, and sleeping area. Most builders orient the long axis parallel to the entry door to maximize sight lines and perceived depth. The standard approach places the kitchen at one end, a compact bathroom in the middle or opposite corner, and a sleeping loft or bedroom at the far end.
Ceiling height matters. If the structure is built on a trailer, it’s usually limited to 13.5 feet to stay within legal towing height. That leaves enough clearance for an 8-foot main floor and a 4-to-5-foot loft, though headroom in the loft will require kneeling or sitting. Stationary tiny houses on foundations can push ceilings higher, opening up loft configurations with standing room.
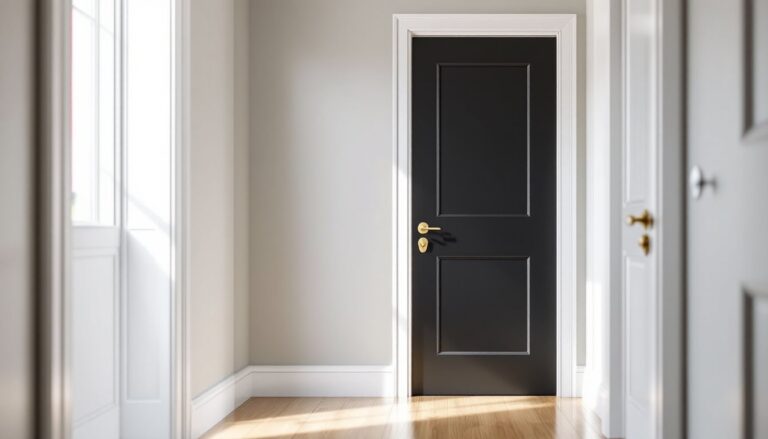
Wall framing uses 2×4 studs on 16-inch centers for non-load-bearing partitions, though exterior walls may be 2×6 to accommodate extra insulation. Interior walls should be minimal, each one eats up 5 to 6 inches of usable width and disrupts flow. Open plans with partial dividers, curtains, or sliding barn doors preserve flexibility without boxing in space.
Plumbing and electrical runs need early planning. Cluster wet areas (kitchen sink, shower, toilet) along one wall to minimize drain runs and vent stack complexity. Electrical outlets should sit at standard 12 inches above finished floor for countertops and 18 inches for general use, but in tight quarters, consider under-cabinet or flush-mount options to free up wall space.
Multifunctional Furniture Solutions for Compact Living
Furniture that serves a single purpose is a luxury a 12×24 home can’t afford. Every piece should earn its footprint by doing double or triple duty.
Murphy beds fold vertically into wall cabinets, clearing floor space during the day. Horizontal models work better in narrow layouts where vertical swing clearance is tight. Paired with a fold-down desk or shelving on the reverse side, a Murphy bed becomes a daytime office nook.
Convertible dining tables with drop leaves or extensions let two people eat comfortably, then shrink down when not in use. Look for models with built-in storage cubbies underneath for linens, cookware, or pantry overflow. Nesting tables offer similar flexibility for living areas, stack them when you need floor space, spread them out for guests.
Storage ottomans and benches do triple duty as seating, footrests, and hidden bins for blankets, tools, or off-season clothing. Benches along one wall can double as a dining banquette with cushions and a fold-down table mounted to the adjacent wall.
Avoid bulky recliners and oversized sectionals. A loveseat or futon with a low profile and simple frame keeps sight lines open and converts to guest sleeping without taking up permanent bedroom space. If a couch feels non-negotiable, choose one with removable legs and a modular design that can be reconfigured or moved easily.
Vertical Storage Strategies That Don’t Sacrifice Style
In a 12×24 layout, wall height is underutilized real estate. Shelving, cabinetry, and hooks that climb toward the ceiling pull storage out of the footprint and keep floors clear.
Install floor-to-ceiling shelving units in the kitchen, bathroom, and living zones. Use the top shelves for items accessed infrequently (holiday dishes, extra bedding, archived paperwork) and keep daily essentials at eye level. Open shelving works well for frequently used items and creates visual lightness, but mix in a few closed cabinets to hide clutter.
Pegboard and slatwall panels turn blank walls into customizable storage grids. Mount them in kitchens for utensils and pots, in entryways for coats and bags, or above workbenches for tools. They’re easy to reconfigure as needs change and add a clean, modular look.
Many small space living ideas emphasize the value of overhead cabinets, particularly in kitchens and bathrooms where vertical space often goes unused. Extend cabinets to within a few inches of the ceiling, and use the gap for decorative baskets or low-profile storage bins.
Magnetic strips and rail systems keep knives, spice jars, and small tools off counters without drilling multiple holes. Stick them to the underside of upper cabinets or along backsplashes to preserve work surfaces.
Ladders and loft access stairs can integrate storage. Drawer-step staircases with pull-out compartments use the 10-to-12-inch tread depth for shoes, books, or kitchen supplies. It’s more expensive than a simple ladder, but the added storage density usually justifies the cost.
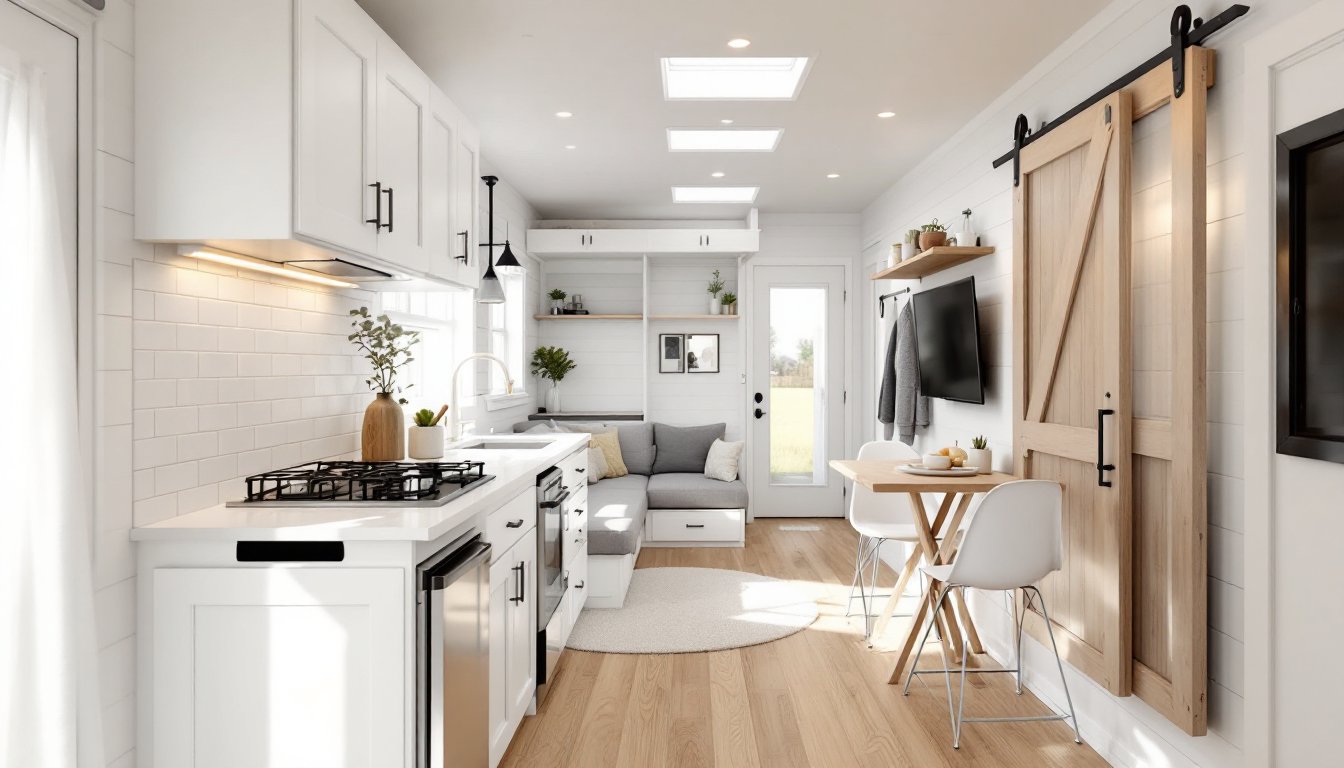
Kitchen Design Ideas for 12×24 Tiny Homes
A functional kitchen in 288 square feet typically occupies a 6-to-8-foot run along one wall, sometimes extending into an L-shape if space allows. Prioritize the work triangle, sink, stove, and refrigerator, keeping the total perimeter under 20 feet for efficiency.
Appliance downsizing is non-negotiable. A 24-inch range with two burners and a compact oven fits most cooking needs without dominating the counter. Apartment-size refrigerators (18 to 24 inches wide, 10 to 12 cubic feet) tuck under counters or into tall cabinets. Combination microwave-convection ovens mount above the range or in upper cabinets, eliminating the need for separate units.
Counter depth should stay at the standard 24 inches to accommodate base cabinets and provide adequate prep space, but total counter runs rarely exceed 4 to 5 linear feet. Every inch counts, choose an undermount sink to maximize usable surface, and opt for a single basin at least 18 inches wide.
Decluttering guides frequently stress that tight kitchens demand ruthless paring of gadgets and duplicate tools. Keep one good chef’s knife, one cutting board, and a nesting set of mixing bowls instead of a drawer full of redundant equipment.
Pull-out pantries and narrow rolling carts (6 to 8 inches wide) slide into gaps beside the fridge or range, turning dead space into storage for canned goods, spices, and oils. Lazy Susans in corner base cabinets prevent items from disappearing into the back.
Backsplash tile or metal panels protect walls and reflect light. Light-colored subway tile, glass mosaics, or stainless steel make tight kitchens feel larger and easier to clean than dark grout or matte finishes.
Sleeping Loft vs. Ground-Level Bedroom Configurations
Choosing between a sleeping loft and ground-level bedroom hinges on ceiling height, mobility, and how much privacy matters.
Sleeping lofts free up main-floor space for living and working, but they come with trade-offs. Most lofts offer 3.5-to-5-feet of headroom, enough to sit up but not stand. Access is via ladder or stairs, which can be difficult for anyone with mobility limits or at night. Lofts get warmer due to heat rising, factor in a ceiling fan or operable skylight for ventilation. They work best for single occupants or couples comfortable with tight quarters.
Loft framing typically uses 2×6 or 2×8 joists on 16-inch centers, sized to handle live loads (usually 30 to 40 pounds per square foot for sleeping areas per IRC guidelines). Confirm local code requirements if the build is permitted: some jurisdictions classify lofts as habitable space and enforce stricter egress and headroom rules.
Ground-level bedrooms trade floor space for comfort and accessibility. A dedicated bedroom in a 12×24 layout consumes 60 to 80 square feet, leaving less room for living areas. Privacy improves with a solid or sliding door, and a standard bed frame with under-bed storage can reclaim some lost volume. This setup suits families, older adults, or anyone who values a traditional sleeping arrangement.
A hybrid approach uses a convertible platform. Build a raised platform (18 to 24 inches high) that houses storage drawers underneath and doubles as a couch or seating area during the day with cushions. At night, it converts to a sleeping surface. This arrangement doesn’t require a ladder and keeps the main floor open.
Lighting and Color Tricks to Make Your Space Feel Larger
Lighting and color directly influence how spacious a 12×24 interior feels. Poor choices make walls close in: smart ones push them back.
Natural light is the easiest win. Add windows on multiple walls to create cross-ventilation and prevent a tunnel effect. Skylights over the kitchen or loft bring daylight into the center of the floor plan without sacrificing wall space for cabinets. Keep window treatments minimal, sheer curtains or top-down/bottom-up shades allow light in while preserving privacy.
Artificial lighting should layer: ambient, task, and accent. Recessed LED can lights (4-inch diameter) provide even overhead illumination without hanging into limited headroom. Space them 4 to 5 feet apart for uniform coverage. Under-cabinet LED strips brighten countertops and reduce shadows in work zones. Wall sconces and picture lights add depth without cluttering surfaces.
Avoid a single central ceiling fixture, it flattens the space and creates harsh shadows. Multiple light sources at varying heights add dimension and make rooms feel taller and wider.
Color strategy leans light and neutral. White, soft gray, and pale beige on walls and ceilings reflect light and expand perceived boundaries. Trim and doors in the same color as walls erase visual breaks and create a seamless envelope. If bold color is wanted, use it sparingly on a single accent wall or in textiles (pillows, rugs, throws).
Glossy or semi-gloss paint finishes reflect more light than flat, but show imperfections, use them on well-prepped surfaces. For wood paneling or shiplap (popular in tiny builds), choose lighter stains or whitewash treatments instead of dark espresso tones.
Drawing inspiration from interior design ideas that emphasize minimalism, mirrors amplify both natural and artificial light. A large mirror opposite a window doubles the view and brightness. Mirrored backsplashes in kitchens or behind bathroom sinks add depth without taking up square footage.
Conclusion
A 12×24 tiny house interior succeeds when every design decision prioritizes function, flexibility, and light. Layouts that cluster utilities, furniture that converts, and storage that climbs walls turn 288 square feet into a livable home rather than a cramped compromise. Loft or ground-level sleeping, compact appliances, and strategic lighting aren’t afterthoughts, they’re the foundation of comfort in tight quarters. The smallest details, from drawer-step stairs to under-cabinet LEDs, accumulate into a space that feels larger than its footprint suggests.