Table of Contents
ToggleA fall in the bathroom can change everything. For seniors aging in place, the bathroom poses more risk than any other room in the home, wet surfaces, tight spaces, and fixtures designed for mobility that may no longer be there. But accessible design doesn’t mean institutional or sterile. Modern senior-friendly bathrooms balance safety with comfort, blending grab bars, walk-in showers, and thoughtful lighting into spaces that feel welcoming, not clinical. Whether planning a full remodel or making targeted updates, understanding the core principles of accessible bathroom design helps create a space that supports independence for years to come.
Key Takeaways
- One in four seniors aged 65+ falls annually, making accessible bathroom design a critical priority for fall prevention and maintaining independence.
- Walk-in showers with curbless entry and proper grab bars installed into wall studs are the foundational safety features of any senior-friendly bathroom.
- Non-slip flooring with a coefficient of friction (COF) rating of 0.60 or higher, combined with layered lighting at 50-75 foot-candles, dramatically reduces bathroom hazards for elderly users.
- Comfort-height toilets (17-19 inches) and lever-style faucets reduce physical strain, while anti-scald valves protect against burns and dangerous temperature spikes.
- Strategic, budget-friendly modifications like grab bars ($30-$80) and handheld showerheads ($25-$70) deliver significant safety improvements without requiring a full remodel.
- Accessible bathroom design can blend safety seamlessly with modern aesthetics, using brushed nickel grab bars and spa-like curbless showers that support independence while maintaining style.
Why Accessible Bathroom Design Matters for Seniors
The statistics are sobering: according to the CDC, one in four adults aged 65 and older falls each year, and bathrooms account for a significant portion of those incidents. Slippery floors, awkward transfers from standing to sitting, and poor lighting all contribute to injury risk. An accessible bathroom reduces fall hazards while preserving dignity and autonomy.
Beyond safety, aging-in-place design delays or eliminates the need for assisted living. Seniors who can safely bathe, use the toilet, and move around independently maintain better mental and physical health. For family caregivers, a well-designed bathroom also eases the physical strain of assisting a loved one.
Accessible design isn’t one-size-fits-all. Mobility challenges vary, arthritis limits grip strength, balance issues require different support than vision impairment, and wheelchair users need turning radius and knee clearance. Effective bathroom design anticipates current needs and future changes, building in flexibility without looking like a hospital restroom.
Key Safety Features Every Senior-Friendly Bathroom Needs
Safety features form the backbone of any accessible bathroom. These aren’t optional add-ons, they’re the foundation that prevents injury and supports daily function.
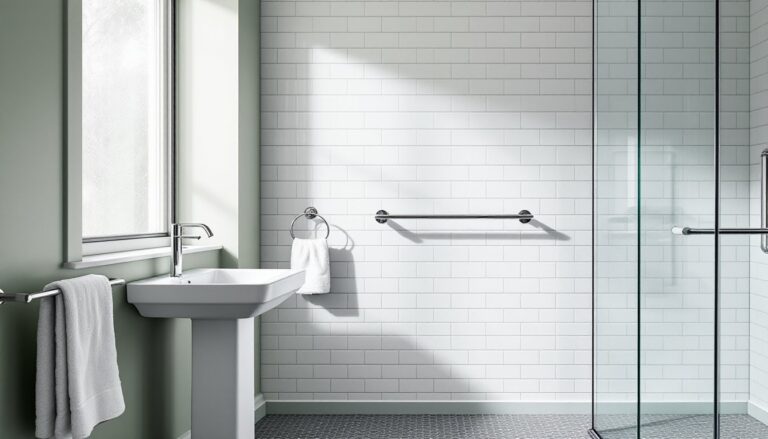
Walk-In Showers and Barrier-Free Entry
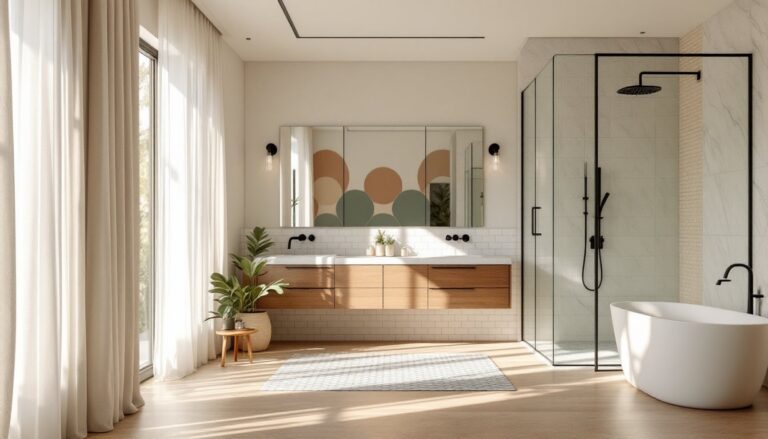
Traditional tub-shower combos require lifting a leg over a 14-16 inch ledge, a recipe for falls. Walk-in showers with barrier-free entry eliminate that obstacle entirely. A curbless shower sits flush with the bathroom floor, allowing easy access for walkers, wheelchairs, or anyone with limited mobility.
Curbless showers require careful planning. The floor must slope toward a linear drain (typically 1/4 inch per foot) to prevent water from flooding the bathroom. Waterproofing becomes critical, use a continuous waterproof membrane under the tile, not just a pan liner. Some jurisdictions require permits for this work, especially if you’re altering floor joists or drainage lines.
If a full curbless conversion isn’t feasible, a low-threshold shower pan (2-3 inches high) offers a compromise. Prefab acrylic or fiberglass pans with integrated seats are available, though custom-tiled options provide better grip and aesthetic control.
Shower seats are non-negotiable. Built-in tiled benches should be 17-19 inches high (standard chair height) and at least 15 inches deep. Fold-down seats work in tighter spaces. For either option, ensure blocking is installed in the wall during framing to support 250+ pounds.
Handheld showerheads mounted on a slide bar let users shower while seated. Install the slide bar so the lowest position is 48 inches from the floor, high enough for seated use but adjustable for standing users.
Grab Bars, Handrails, and Support Systems
Grab bars save lives, but only if installed correctly. Towel bars are not grab bars, they’re anchored to drywall with flimsy hardware and will rip out under load. True grab bars must be fastened to blocking (2×6 or 2×8 lumber) installed between studs during construction or retrofit.
If you’re working with existing walls, locate studs with a stud finder and use #10 or #12 stainless steel screws at least 1-1/2 inches into solid wood. If studs don’t align where you need support, install blocking by cutting drywall, adding horizontal bracing, and patching. Toggle bolts are a last resort and should only be used for light-duty applications, never trust a 300-pound fall to a drywall anchor.
Placement determines usefulness. Install grab bars near toilets and in showers where users need them most, one horizontal bar on the side wall 33-36 inches high, and another on the back wall for toilets. In showers, vertical bars near the entry aid balance, while horizontal bars on control walls provide stability during washing.
Grab bar diameter matters. Bars between 1-1/4 and 1-1/2 inches in diameter suit most hand sizes. Textured or knurled finishes improve grip when wet. Avoid decorative bars that prioritize aesthetics over function, an ornate bar that’s too thick or slippery won’t help when it’s needed.
For wheelchair users, consider swing-up grab bars next to the toilet that fold away for side transfers. These require solid blocking and precise installation but dramatically improve accessibility.
Flooring and Lighting Considerations for Fall Prevention
Falls happen when traction or visibility fail. Flooring and lighting are the often-overlooked twins of bathroom safety.
Non-slip flooring is mandatory. Ceramic and porcelain tile dominate bathroom floors, but not all tile is slip-resistant. Look for a COF (coefficient of friction) rating of 0.60 or higher for wet surfaces, manufacturers list this in product specs. Textured or matte-finish tiles provide better grip than glossy ones.
Small-format tiles (2×2 inch mosaics) increase grout lines, which add traction. But, more grout means more maintenance. Textured porcelain plank tile mimics wood but offers durability and slip resistance. Avoid polished marble, travertine, or any high-gloss natural stone, they’re beautiful but treacherous when wet.
For a warmer, softer surface, luxury vinyl plank (LVP) or sheet vinyl with textured wear layers work well. These are fully waterproof, comfortable underfoot, and easier on joints during a fall than hard tile. Cork flooring is another option, naturally slip-resistant, cushioned, and warm, but requires sealing in wet areas.
Lighting often gets shortchanged in bathrooms. Seniors need more light than younger adults due to age-related vision changes. Aim for 50-75 foot-candles of light in task areas (mirror, shower, toilet). Layered lighting works best: recessed ceiling fixtures for general illumination, sconces flanking the mirror to eliminate shadows, and a waterproof fixture inside the shower.
LED bulbs rated 2700-3000K (warm white) provide adequate brightness without the harsh blue tone that can strain aging eyes. Install dimmer switches to adjust light levels for nighttime use, but never let the bathroom go fully dark.
Night lights are critical. Motion-activated LED night lights guide seniors safely during nighttime trips without fumbling for switches. Place them low on the wall (6-8 inches above the floor) to illuminate the path without causing glare.
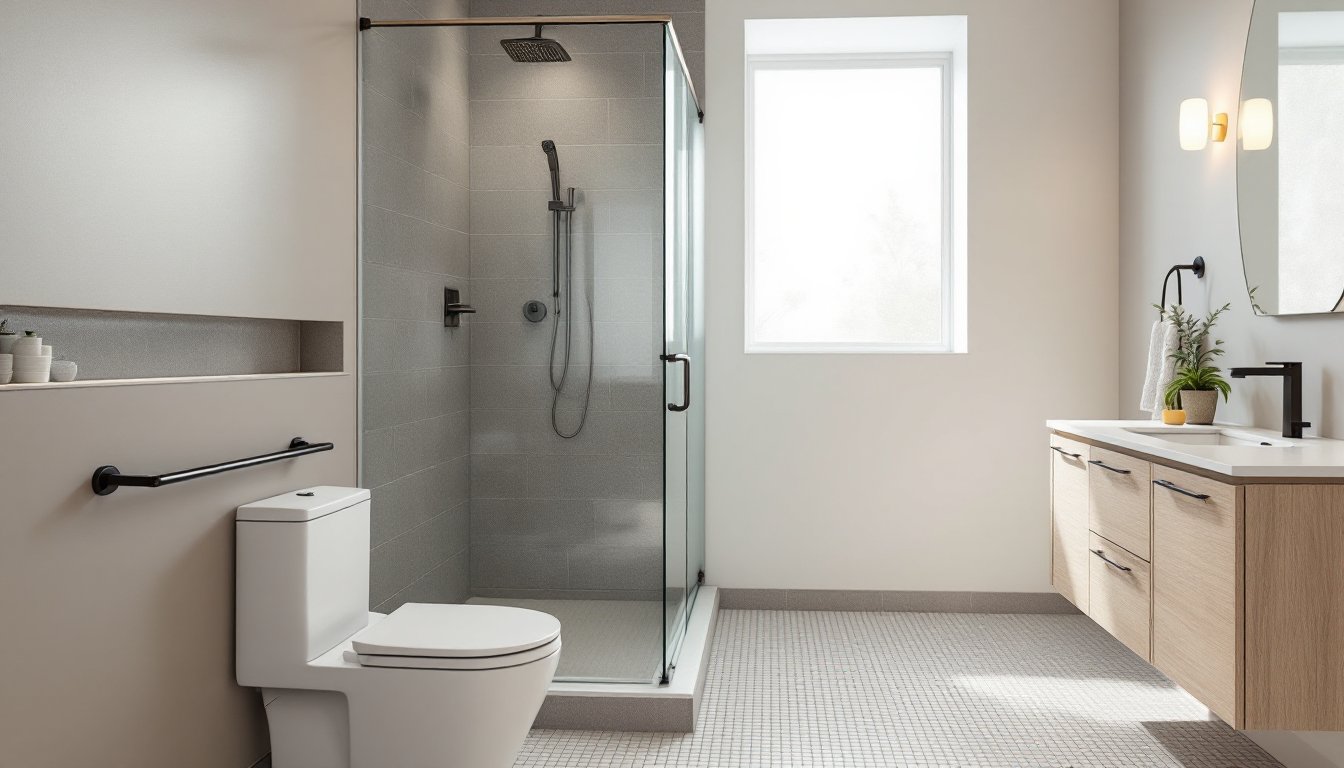
Choosing the Right Fixtures and Fittings for Comfort and Independence
Fixtures can enable or hinder independence. The right choices reduce strain and accommodate limited mobility.
Comfort-height toilets (also called ADA-height or right-height) measure 17-19 inches from floor to seat, 2-4 inches taller than standard 15-inch models. This higher seat reduces the distance users must lower and raise themselves, easing stress on knees and hips. Pair a comfort-height toilet with a bidet seat or handheld bidet sprayer to assist users with limited reach or flexibility.
Toilet seat risers are a temporary solution, but a properly installed comfort-height toilet is more stable and looks better. If installing a new toilet, choose one with a concealed trapway (smooth exterior) for easier cleaning.
Lever faucets or touchless motion-sensor faucets eliminate the need to grip and twist knobs, helpful for arthritic hands. Single-lever designs are the simplest: push them to turn on, pull to adjust temperature. Touchless models require electrical hookup (battery or hardwired) but are ideal for users with severe dexterity limitations.
Anti-scald valves (thermostatic or pressure-balancing) should be standard in every bathroom, but they’re especially critical for seniors. These valves prevent sudden temperature spikes that can cause burns or startled reactions leading to falls. Most modern faucets include built-in anti-scald protection, but older homes may need retrofitting. Some codes require them, check with your local building department.
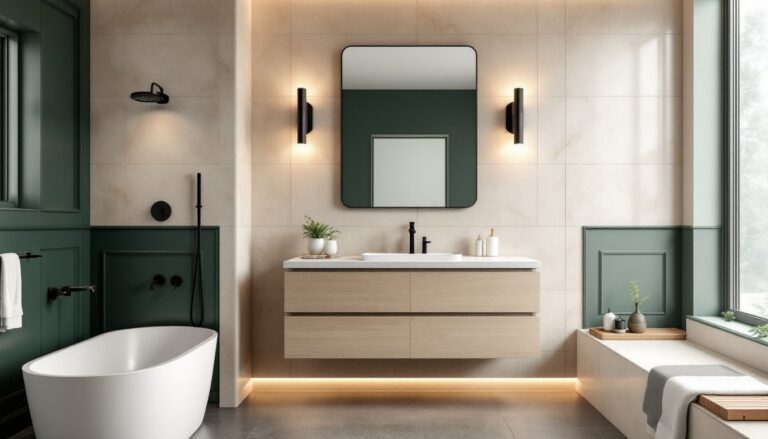
Vanities present unique challenges. Traditional 32-34 inch vanities work for standing users, but wheelchair users need knee clearance underneath. Wall-hung vanities or open-frame vanities with recessed plumbing provide 27-29 inches of clearance height and at least 30 inches of width. Insulate exposed drain pipes to prevent burns from hot water lines.
Drawers trump cabinet doors for accessibility. Soft-close drawers with D-pull or bar handles are easier to open than knobs. If remodeling, position frequently used items in the top two drawers to minimize bending.
Medicine cabinets should sit lower than standard, install them so the top shelf is no higher than 48 inches from the floor. This keeps essential items within reach without stretching or using a step stool.
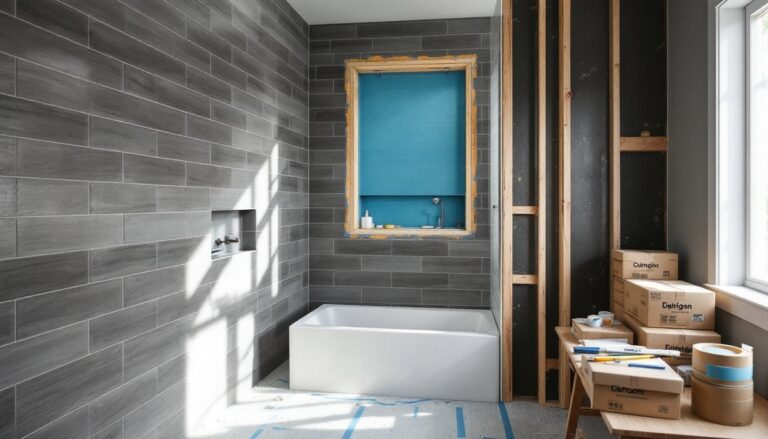
Budget-Friendly Bathroom Modifications for Aging Homeowners
Full bathroom remodels can run $10,000-$25,000 or more, but not every accessible upgrade requires tearing out walls. Strategic, lower-cost modifications can make a dramatic difference in safety and usability.
Start with grab bars. A quality stainless steel grab bar costs $30-$80, and installation takes an hour if studs are accessible. This is the single highest-impact, lowest-cost upgrade. Buy bars that meet ADA standards (500-pound load capacity) even if you’re not required to comply.
Handheld showerheads retrofit onto existing shower arms with basic tools, no plumbing work required. Expect to spend $25-$70 for a decent model with a slide bar. Choose one with a pause button to reduce water waste and prevent accidental scalding.
Swap existing faucet handles for lever-style handles. Many faucets allow handle replacement without replacing the entire valve body. Universal retrofit levers cost $10-$25 per handle and install with a hex wrench.
Add a transfer bench or shower chair instead of building a permanent seat. These range from $40-$150, require no installation, and can be removed or adjusted as needs change. Look for models with non-slip rubber feet and drainage holes in the seat.
Toilet seat risers with arms cost $50-$120 and clamp onto existing toilets. They’re not as elegant as a comfort-height toilet, but they’re removable and require zero installation. Choose models with padded, easy-clean surfaces.
Improve lighting without rewiring. Battery-operated LED strip lights or puck lights can be mounted under vanities or inside cabinets for under $30. Plug-in motion-sensor night lights cost $10-$20 each.
Non-slip adhesive strips or bathtub decals add traction to existing tub or shower floors for $10-$20. For a more permanent solution, apply a slip-resistant coating ($30-$50 per kit) designed for tile and fiberglass.
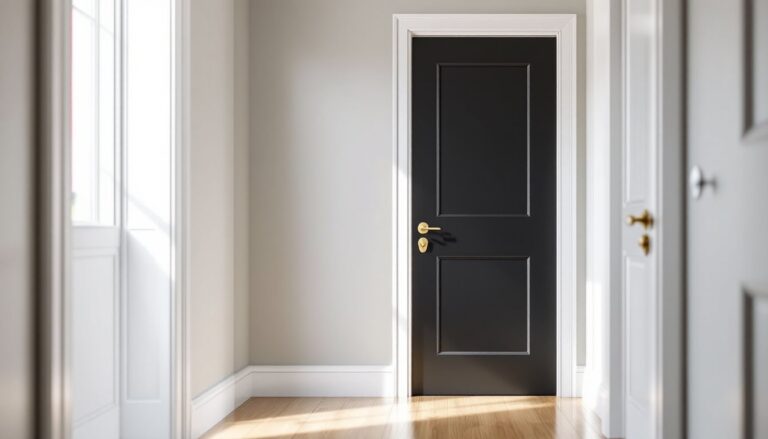
Replace round doorknobs with lever handles ($15-$30 each) to ease entry. If the bathroom door swings inward, consider reversing it to swing outward, this prevents the door from being blocked if someone falls. Door swing reversal is usually a DIY project requiring only a screwdriver and patience.
Some modifications may be covered by insurance, Medicare, Medicaid, or veteran’s benefits, especially if prescribed by a physician as medically necessary. Investigate local and state programs that offer grants or low-interest loans for aging-in-place renovations.
When planning larger projects, understand that structural work like moving plumbing, installing curbless showers, or altering floor joists will require permits and likely a licensed contractor. Cosmetic upgrades (grab bars, faucets, lighting) are usually DIY-friendly and don’t trigger permit requirements, but always check local codes.
Accessible design doesn’t mean sacrificing style. Many modern bathroom layouts and fixtures seamlessly blend safety features into clean, contemporary aesthetics. Grab bars now come in finishes like brushed nickel, oil-rubbed bronze, and matte black to match existing hardware. Curbless showers with large-format tile and frameless glass resemble high-end spa designs while providing maximum accessibility.
The best bathroom modifications anticipate change. What works today should adapt to tomorrow’s needs without requiring another full remodel. With thoughtful planning, trade-savvy execution, and a focus on function over fads, an accessible bathroom can support independence, safety, and dignity for decades.